myWerkzeug.de › CNC.myWerkzeug.de › Templates › Kitchen
CNC template · Kitchen
Turntable with ball bearings
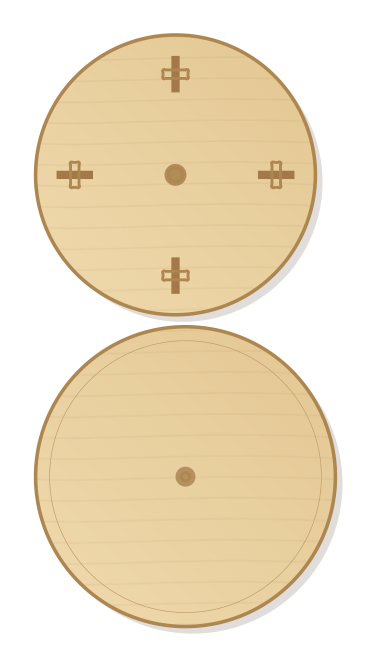
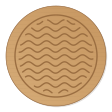
Turntable for spices, cakes or the workbench: the top runs on ball bearings that sit as rollers in slots of the base, another bearing in the middle keeps it centred. Size, number of rollers and bearings adjustable.
- Size
- 318 × 610 mm, 18 mm thick
- Material
- Plywood
- Difficulty
- Intermediate
- Milling time
- approx. 47 min
- Bits
- V-bit 60°, End mill Ø 6 mm, End mill Ø 3.175 mm
- Customise
- Size, text and details adjustable with sliders
- With a laser
- milling machine only (deep pockets)
Free with an account · carve with Chrome or Edge · no installation
Build instructions
Materials and accessories
| Qty | Part |
|---|---|
| 5 | Deep groove ball bearing (bore × outer diameter × width) 8 × 22 × 7 mm (608) |
| 1 | Beech dowel rod 8 mm |
| 1 | Bolt with nut to fit the bearing bore M8 |
| 4 | Washers to fit the bearing bore M8 |
| 1 | Felt pads |
Also: sandpaper (grit 120 and 240), a utility knife or fine saw and, for joints, a rubber mallet.
Carving and finishing
- Clamp the workpiece flat on the spoilboard or secure it with double-sided tape, and set the origin as shown in the carving assistant.
- First mill a test piece with one bearing seat and press the bearing in: it should go in with your thumb or a clamp and then sit firmly. Too tight: increase the fit by 0.02 mm; too loose: decrease it.
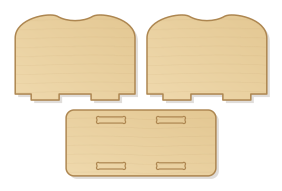
- Base: bearing seat and axle grooves as pockets, then the through hole and roller slots; top: counterbore, bolt hole and decorative ring. Finally cut out both boards.
- Free the parts at the holding tabs with a utility knife or fine saw and sand the tab remains flush.
Assembly and final touches
- Slide each bearing onto a short piece of dowel matching the bore and lay it in a slot so that the dowel rests in the grooves. The rollers stick out a little above the base and turn freely.
- Press the centre bearing flush into the seat of the base. Place the top on it, push a bolt from above through the centre hole and the bearing, with as many washers in between as the rollers stick out, and secure it underneath with a nut.
- Turn it: the top runs easily without tilting. Stick felt pads under the base.
How to carve this template
- OpenOpen the template in the app and adjust size and text if you like.
- CheckLook at it in 3D, check run time and warnings.
- Set upThe carve wizard guides you through material, clamping, bit and zero point.
- CarvePress start; the app drives your Grbl router directly over USB.