
From a blank sheet to a part ready to cut in a few minutes. As an example we cut a 80 × 50 mm rectangle out of a 6 mm plywood sheet.
Create a new project
File → New (Alt+N) opens the “New project” window with six project types. Choose Free project. The other types (electronics PCB, relief and 3D, sign and engraving, cut list and furniture parts, from template) are being added step by step.
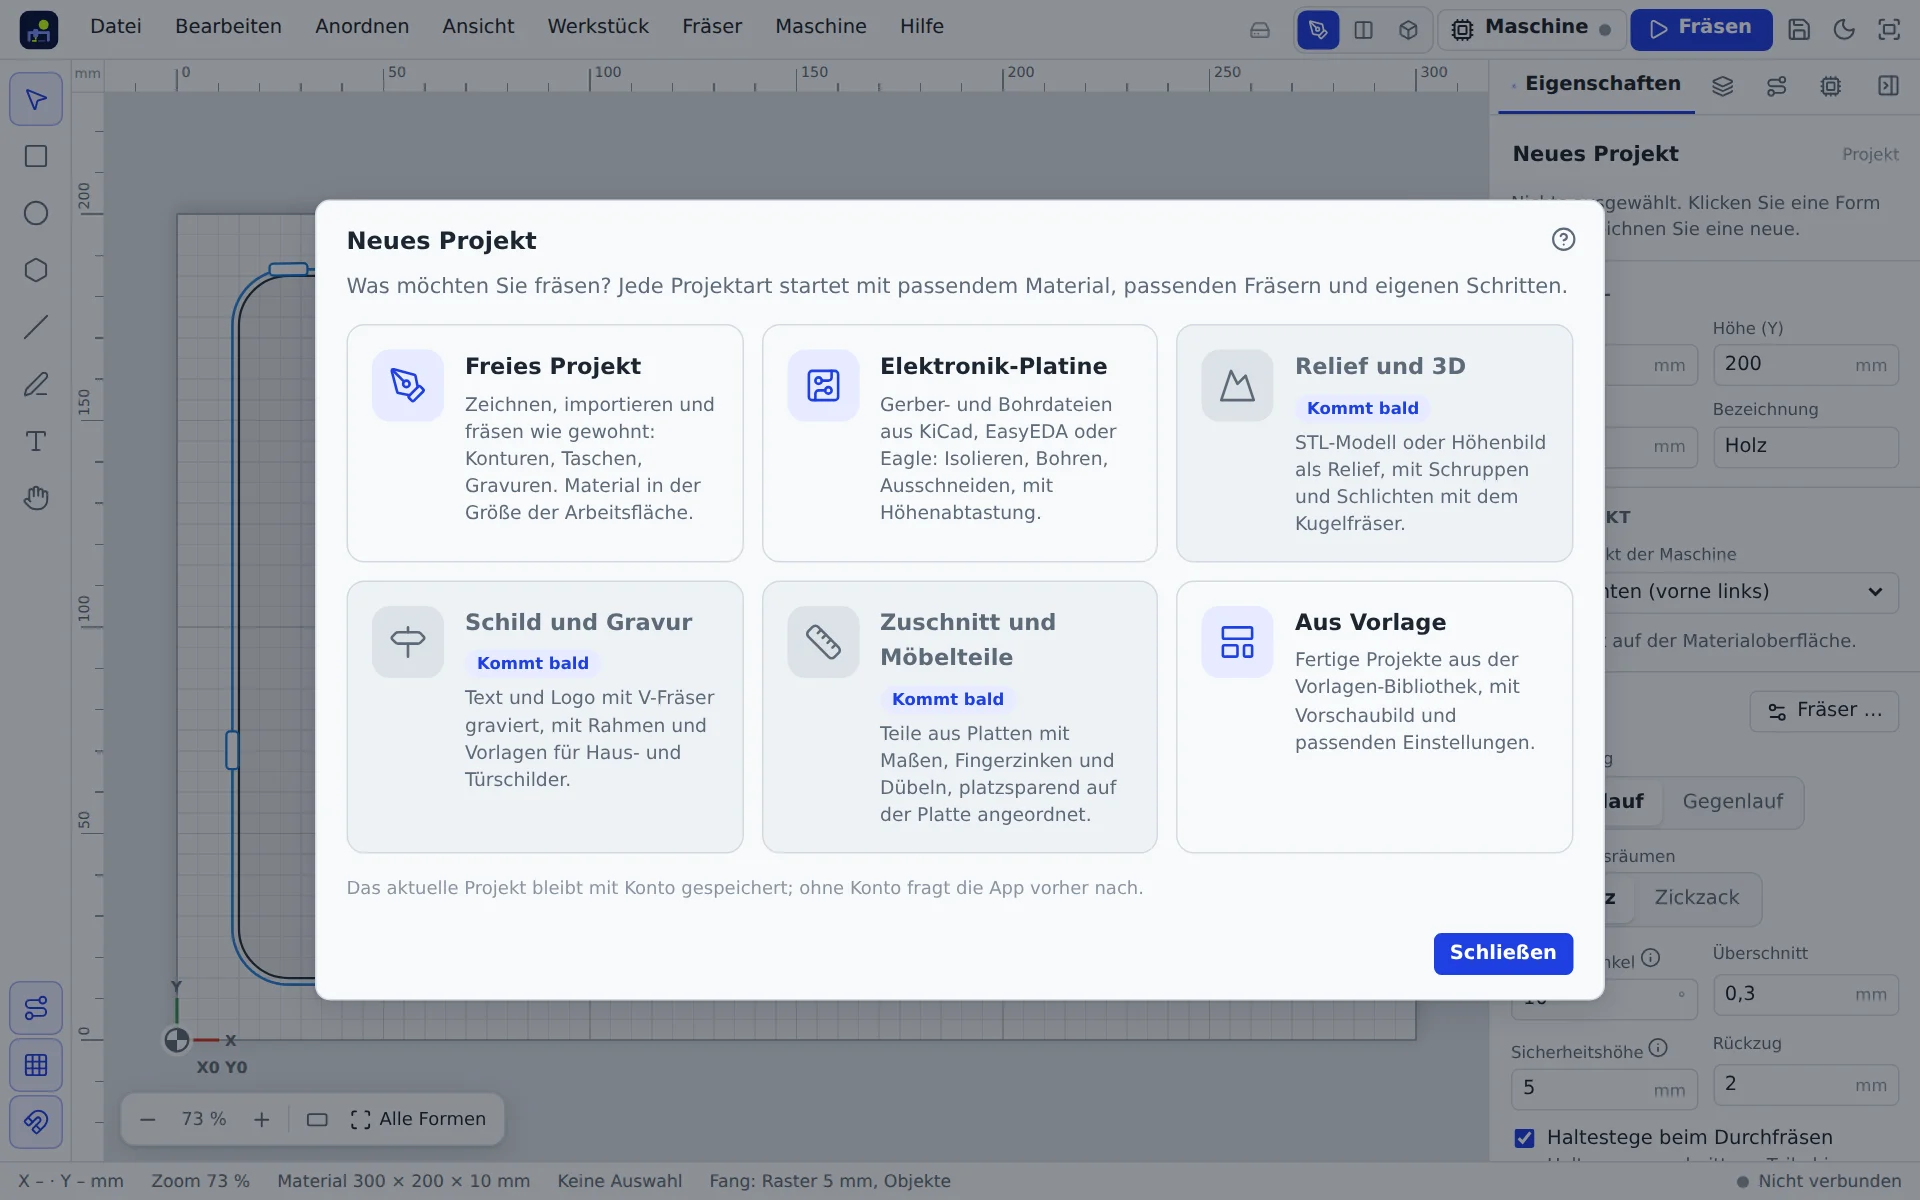
If a machine is set up, the project starts with the size of its work area.
Set the material
Open Workpiece → Material and size …. Choose the material (plywood here) and enter width, height and thickness. The thickness matters: it decides how deep “Cut through” goes. More under Workpiece and zero.
Draw a shape
- Choose the rectangle tool (R).
- Drag a rectangle on the canvas.
- On the right under Properties enter width 80 and height 50.
Set up the cut
Click the rectangle with the select tool. The cut popup appears next to it:
- cut type Outside (the bit runs outside the line, the part keeps its size),
- switch on Cut through,
- pick a bit, for example a 3.175 mm end mill.
The app calculates the toolpaths immediately and adds holding tabs so the part cannot break loose.
Check and cut
Switch to Split or 3D at the top and play the simulation. If everything looks right, click Carve at the top right. The carve wizard guides you through clamping the material, homing, setting zero and starting: Start cutting.