
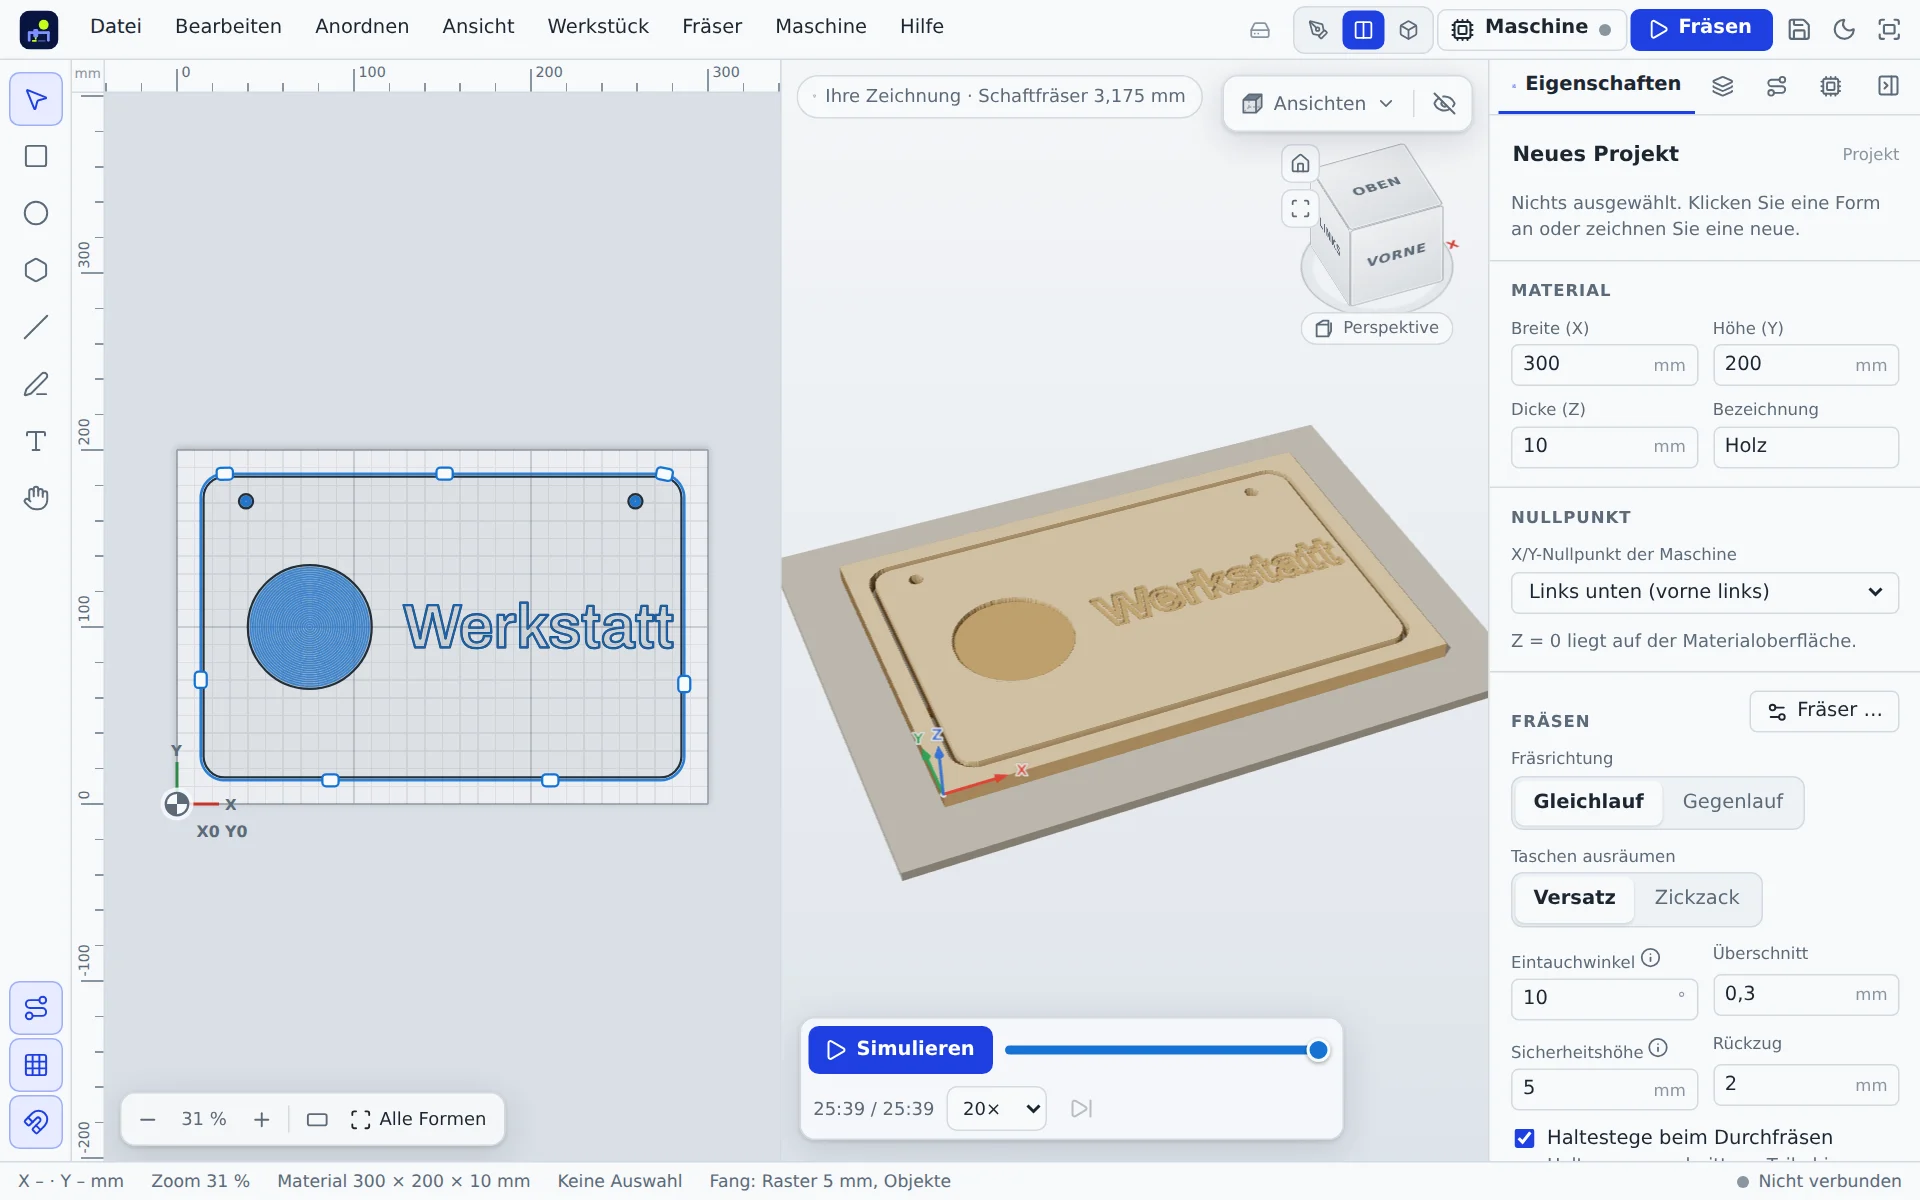
In the top bar you switch between Drawing, Split (drawing and 3D side by side) and 3D.
Navigating
| Action | Mouse | Key |
|---|---|---|
| Rotate | drag with left button | |
| Pan | drag with right button | |
| Zoom | mouse wheel | |
| Angled from the front | 0 | |
| Top / bottom | 7 / 8 | |
| Front / back / left / right | 1 / 2 / 4 / 3 | |
| Perspective or parallel | 5 | |
| Fit | F |
The view cube at the top right shows where you are looking from. Clicking a face, edge or corner rotates there. Parallel shows true sizes without distortion.
Simulate
Simulate plays back the cut: material is removed step by step, flat with end mills, round with ball noses, conical with V-bits. Use the slider to jump anywhere and choose a speed from 1× to 100×. With several bits, marks on the slider show the parts. Finished workpiece jumps to the end.
While the program runs on the machine, the simulation follows the bit live.
Depth map
The mountain button at the top of the 3D view colours the workpiece by cutting depth: yellow is just below the surface, dark violet is deepest, untouched areas stay light. The legend on the left gives the depths in mm, thin contour lines join points of equal depth. Move the pointer over the workpiece to see the depth at that spot together with X and Y from the origin. Areas the bit cannot reach are hatched red. This works for reliefs as well as pockets and profiles.
Below the legend is the layer model: drag along the colour bar (or use the arrow keys) and the view shows the workpiece cut only down to the bottom of that layer, layer by layer like a 3D printer. The material removed in cm³ and the cutting time for that layer are shown next to it. ▶ plays all layers from the uncut block to the finished workpiece.
Draw section (below the legend): drag a line across the workpiece. The depth profile along that line appears below it, with removed material in the depth map colours; move the pointer over it to read the depth at any point. The height is exaggerated so that shallow reliefs remain visible. Esc cancels drawing, × closes the section.
What to look for
- Red areas: the bit does not fit there. Choose a smaller bit.
- Missing parts: is a layer hidden or a shape set to “Do not cut”?
- Cut-outs: do parts fall out that should stay? Then holding tabs are missing.
- Underside: from below (8) you see whether it really cuts through.